• Sign In or Join Free

Today's Deals

back to School
Explore Our Newest Products
Customer Reviews
  • Darkone83
  • Sep 17, 2025
From the unboxing, this kit stands out with its rich set of components—34 individual sensors, a sturdy Pico GPIO expansion board, ribbon cable, breadboard, and all the connecting wires neatly organized in a compact project box. The included PDF tutorials, covering about 40 lessons, walk you through everything from simple LED blinking to advanced sensor fusion and barometric pressure monitoring. If you're eager to dive into IoT, robotics, or environmental sensing, this kit gives you nearly limitless possibilities in one package.

I’ve tested it with my Pico W and found the expansion board especially useful—it integrates power regulation, I²C/SPI/UART breakouts, a buzzer, and even built-in RGB LEDs, making sensor setup mostly plug-and-play. Connecting modules like temperature/humidity sensors, ultrasonic range finders, accelerometers, and gas detectors takes seconds—and they all worked smoothly under MicroPython. The sample code runs reliably, and the board handled extended sessions without any glitches. It’s a big step up from piecing together parts from random sources.

Using it in real-world projects has been a blast: I built an environmental monitor with live data logging, a gesture-controlled LED display, and a compact weather station. The sensors deliver accurate readings and the lessons helped me understand practical applications. The only real challenge was managing cables neatly in the project box—once I added everything, it felt a bit cluttered, so organizing jumper wires neatly is key. Also, while most parts feel solid, a couple of smaller sensors require careful handling to avoid damage.

At around $60–$70, this kit is more expensive than basic starter sets—but when you consider the sheer range of components, tutorial depth, and reliable quality, it feels like strong value. For anyone serious about learning electronics, embedded programming, or building practical sensor-driven projects, this is a standout toolkit that bridges the gap from curiosity to creativity. Whether you're a hobbyist, educator, or aspiring maker, this kit delivers both breadth and depth in a thoughtful, well-packaged set.
  • James
  • Sep 17, 2025
Disclosure: This tank was provided free "pre-release" from Adeept after building and discussing the existing acrylic version tank with the support team. The support was excellent with really fast response especially when allowing for the international time difference.
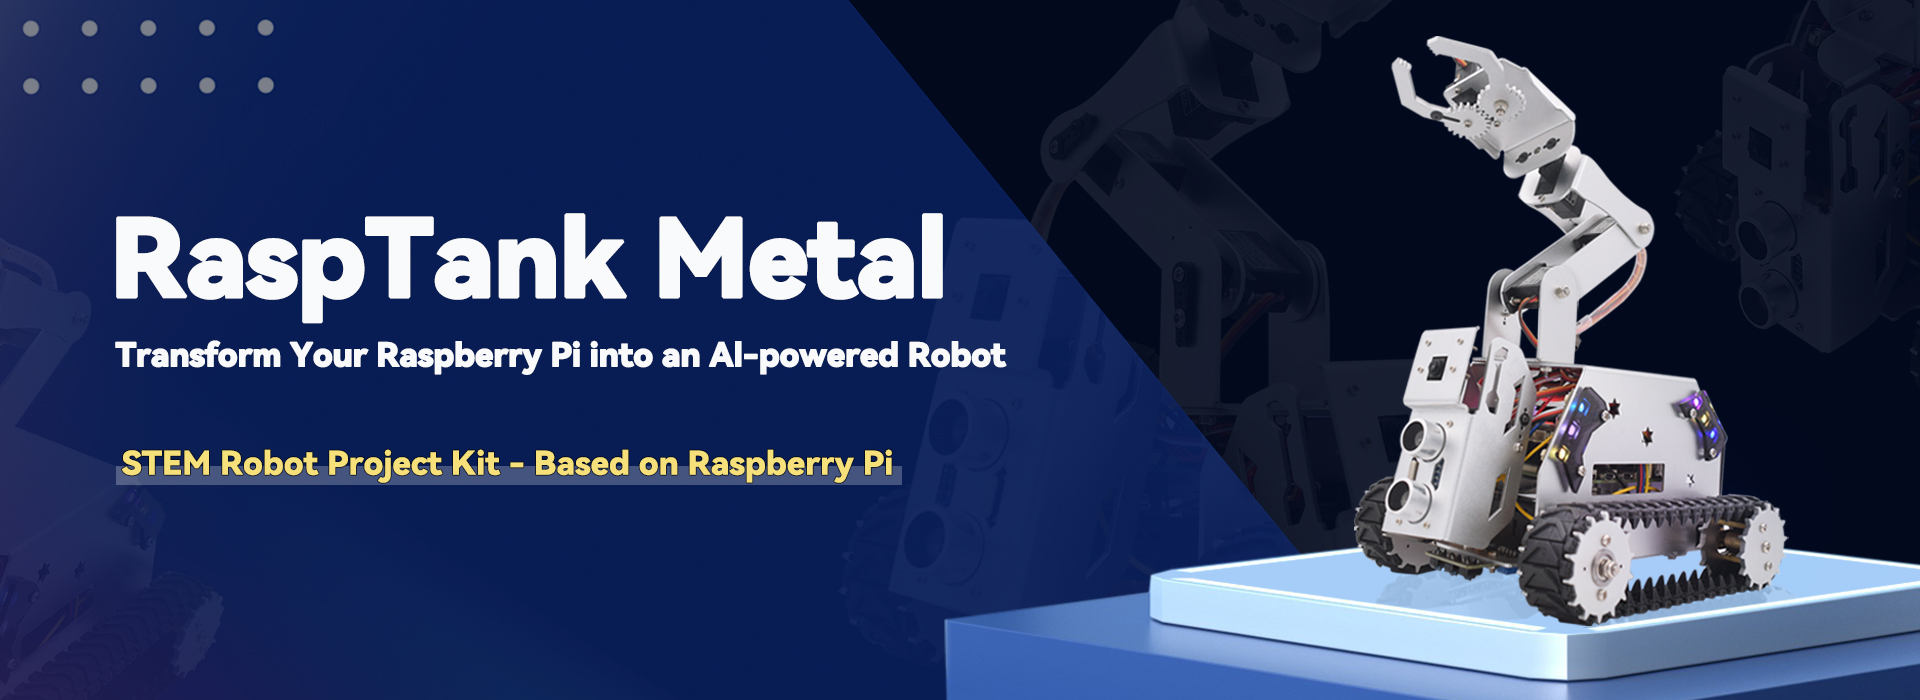
The metal tank has fewer parts than the acrylic version and everything screws together rather than being clipped in place as was the case with much of the acrylic version. You will need to be patient when putting some of the smaller screws and nuts together but this is one of the joys of making models as far as I am concerned. Some of the instructions could be clearer, e.g. it says that the running lights need to be connected in the correct order but doesn't actually say what the order is (not a major problem, they don't work if they are not connected in the right order but they aren't damaged - at least mine weren't!).
The level and amount of sensor electronics that is included is superb, I bought a separate main board to use in another project (no you do not need one but yes I paid for it because I was so impressed!).
There are software lessons in Python (a very easy to learn but widely used software language), these explain how to use each of the sensors and obtain useful data. As an example, computer vision using OpenCV is very well explained for the beginner. You can use the supplied code directly, use it as a starting point for your own experiments, as a reference guide for your own builds or completely ignore it if you are suitably skilled and experienced.
The tank is described as a toy for 15+ year olds in some places but I would say it is much more - it is an all in one experimental education workshop that can be used and learned from by people of any age (I am over 60, my 5yo grandson wants to know what every bit does) with even a small amount of interest or a "want to know" inquisitive mind set and a little spare time.
The metal version did not come with batteries that are needed if your tank is going to be used totally remotely, these are very common and easily obtained but waiting for tomorrows Amazon van can be frustrating on Sunday afternoon! You can power the tank from a Pi PSU but that obviously limits how far you can travel. Neither the metal or acrylic version come with a Raspberry Pi so best think on if you do not have one to hand. I built this metal tank using a Pi5 and the acrylic one using a Pi4. You may need some other computer system to set up the initial Pi OS and to use the remote control software (it would not be remote if you only ran it on the local tank Pi controller.
Tough call to say which is best, I enjoyed building and experimenting with both (still am and I have had them for weeks). If I was to be given one as a gift I would be happy with either; as a model to build I would choose the acrylic version just for the greater number of parts and for a computing experiment I would choose the metal version for faster assembly.
  • TC
  • Sep 17, 2025
DIY Tank Robot Kit Worth the Time

I spent a weekend putting this together and it was a fun build. The metal frame feels solid once it’s all bolted up, and the tracks roll smoothly on flat surfaces. Compared to the plastic kits I’ve tried before, this one feels like it can actually take some use without falling apart.

The robotic arm is the part I ended up playing with the most. It moves in a few different directions and can grab small objects without too much trouble. The claw opens and closes fine, and the servos react fast enough that it feels responsive when you control it.

I ran the obstacle avoidance and line tracking right after finishing the build. Both worked with the example code without me needing to tinker. The included camera is a nice bonus. It was setup for video streaming and I even tested basic object tracking with OpenCV, which was pretty cool to see working on a robot I built myself.

Power is handled by 18650 batteries and charges straight through USB-C, which is convenient. I like that I don’t have to pull the batteries out every time. The charging system stayed cool while I had it plugged in and driving at the same time.

Assembly isn’t difficult, but it does take patience. I’d recommend setting aside a couple of hours and laying everything out before you start. The step-by-step tutorials are long but clear, and if you follow along you’ll get it working.

For me, it’s more than just a toy, it’s a good way to practice with Raspberry Pi, sensors, and Python. It feels like a solid middle ground between a simple beginner kit and something more advanced. It great kit at a great price!
  • wonmihee
  • Sep 17, 2025
This is a very well-designed robot tank with a robot arm and video capabilities. This is an upgrade of an acrylic version of a similar robot car. The version has an aluminum frame that is lighter and stronger than the acrylic version. The kit has all the parts required for construction, including two 18650 batteries and a charger. But it will be necessary to buy a Raspberry Pi 3,4, or 5. All parts are neatly bagged and labeled. Metal-geared high-torque servos are supplied, giving the robot arm good lifting power. Detailed building instructions and videos are accessible online. The build is relatively straightforward, but there are a few points requiring some care. The servos must be centered when installing the servo arm to assure a neutral startup position. A servo centering program is included. Installing the processor into the body does require some care. The chassis is very tight, and all the sensor and motor connections need to be completed before inserting the processor into the body. I suggest that the sensor wires should be organized and routed in the chassis, then plugged into the interface board. The camera cable can then be routed through the interface board. The interface board can then be plugged into the Raspberry Pi. During this process, care needs to be taken not to stress the cable connections. After the processor and interface boards are secured to the base, the base can be inserted into the body. It is necessary to carefully spring apart the body shell to permit the base to pass under the tabs on the body. There is no access to the connections after the processor is in place. The other point requiring care is mounting the tracks. In my kit, the tracks were too tight. This caused the drive wheels to twist when the front wheels were tightened. The twisting prevented the smooth running of the tracks. I found that slotting of the front axle hole on the body using a small rat-tail file moved the front axle back approximately 1 mm. This took the tension off the wheels, permitting the tracks to run smoothly. I also found that substituting a slightly larger metal washer on the front wheels prevented the wheels from binding on the rubber spacer when the wheel was tightened.

The software included in the instructions gives good examples of all the functions of the robot, including line following, ultrasonic object detection, servo operation, and video processing with OpenCV. A GUI and web-based interface are included. This is an advanced learning tool that meets all its goals. The price point is reasonable considering the quality of the components and functionality. A Raspberry Pi needs to be purchased separately. I have tried a Pi3+ and a Pi5. The Pi3+ is a little sluggish with the video processing. A Pi4+ or Pi5 would be preferable.
TOP